0

February – Love and Farm Animals

Time to get back in the swing of things. My break to get the hang at being a mom to three kids 2 and under is officially over. Ben is back to work full time, no winter break, “sigh”.

I want to be more dedicated to fun learning with Tristan and to keep ourselves busy with exciting project to show Daddy when he gets home from work. I think it’s important to set goals (not too high) so that I don’t end up just trying to “make it through the day”! Each month I have a theme. I try to match the bible verses, crafts and songs together with this theme.

I got a plastic bin from walmart that I can hang files in and store craft projects of Tristan’s. I also let him pick out a folder to store papers in, he picked a super cute puppy folder.

I like to be prepare ahead of time, that way we can have fun and not be interrupted…unless there is a baby or two crying. I threw everything in his “school” bin so when I have a minute here or there we can sit down and do school. Tristan loves calling our fun times school ha-ha. This is some of what I have on hand:

  • Aquadoodle Mat – just water, so no mess. You can draw letters and numbers or just let the kids have fun doodling.
  • Abacus – hands on counting makes learning more fun!
  • Crayons, Scissors, Construction paper, pipe cleaners, google eyes and other such items for crafts.
  • Number Coloring pages. 1-10. This was my favorite, and it went with my theme. Animal Number Coloring Pages. Here is the original post. I just printed mine on scrap paper, I didn’t plan to save these masterpieces. :p
  • Easel – this is nice for Bible time and crafts.
  • Felt Bible Story Board & Figurines. I got mine online at Betty Lukens. Use code ABC20 for 20% off. This is not a must have obviously, but it makes Bible time fun for kids.
  • Alphabet Flash Cards – you can find so many different versions on pinterest. But here are some that I liked: Here. Free Homeschool Deals – alphabet flash cards. Animal flash cards.
  • Alphabet Blocks – Melissa & Doug
  • Books – Dr. Seuss’s ABC, My First Numbers, Curious Baby Counting (I love this because it’s hands on), lots and lots of all kinds of books!

BIBLE:

Matthew 22:36-40 is our main verse for this month, going with the Valentine theme of Love. “Love the Lord with all your heart…and your neighbor as yourself…”

I made a chalkboard to write the verse of the month on. I used this blue Martha Stewart Chalkboard paint. Just use any old board and a paint roller. (it’s still drying)

IMG_5784

Some other verses on Love – 1 John 4:19, Luke 3:16, 6:35, 1 Corinthians 13:4-8, 1 Peter 4:8, Psalm 18:1, and of course John 3:16. Tristan LOVES memorizing bible verses. I just have him repeat after me. Being enthusiastic while you read is important. He asks to do it again and again, and what better way to get it ingrained in his little head. Makes my heart glad!

IMG_5786

We also get a Bible verse from church that we memorize every week.

We didn’t get our felt board in the mail yet, I can’t wait!

PHONICS(Reading, Writing & Math):

IMG_5763

While you color talk about the color of the crayons, the animal that he is coloring, and the number that is on the page. You will be amazed at how quick they catch on when they are having fun! You can download the coloring pages I used above for free.

This month we are learning numbers 1-5, letters A-D, and colors red, purple, green and blue. I will move at his pace, and of course he will probably learn even more than these things just by daily learning activities like playing hide and go seek, counting fingers, and naming the colors of his toys. The most important thing is to have fun – sometimes I need to remind myself of this!

Tristan enjoys going through his alphabet flash cards and repeating the letters after me. We use two different sets of flash cards. One just has just the capitol letters, the other set has lowercase, uppercase, and a picture, like A for apple.

I thought it would be fun to hang up some better quality alphabet pages on the wall or make a flip book. Here is a great post to follow, but I also came up with some different ones. You can buy them off of her blog, but I thought it was just as easy and fun to make them ourselves.

Learning is fun for everyone!


ART/CRAFTS:

You could literally go crazy finding stuff on pinterest to make your homeschooling experience fun, sometimes I just need to stop myself and actually get something done. Arts and crafts is my favorite “subject” if you couldn’t tell. I’m no artist, in fact I even butcher stick figures, ha-ha, so hopefully I can teach my kids how to be better artists. :p


If You try footprint art, I wouldn’t expect it to turn out perfect. I used a foam roller and had my husband help me place the wiggly feet on my canvas. Then I used the same roller to stencil the letters. Just wash out the roller after every color.

Tristan made the sweetest Bee mine valentine for daddy. He can’t wait to give it to him once he gets home from work!

Here are some other heart shaped animals. We still need to make some for Tristan’s Mema and Grammy.

I don’t have much of a schedule for crafts, just monthly goals e.g. valentine cards. I say the more crafts the better, so check back for more valentine/love crafts through the month of February.

LIFE SKILLS:

Tristan’s goal for this month is to learn how to dress himself. He knows how to clean his room, and where every toy belongs, I’m pretty impressed with his organizing skills. Some of his daily responsibilities include feeding his Beta fish, Nemo, and his Chinese Dwarf hamster, Jerry. Tristan is a big help throwing dirty diapers into the trash for Mommy and giving the girls toys and their nuks to keep them happy.

MUSIC:

IMG_5774

This is Daddy’s specialty. We both come from musical families, but Ben has some amazing talent that I hope he can pass onto our children. Ben learned to play the piano by ear, but doesn’t know many notes. I know my notes, but it would take me weeks to figure out how to play a song by ear. It will be a joint effort. 🙂

This month we plan to learn how to sing Jesus Loves Me and Old MacDonald had a farm. I like to play classical music during the day such as The Piano Guys, Pride and Prejudice, Handel, and Mozart. I think listening to music gives children a musical ear. Tristan’s favorite music time is watching Cedarmont Kids DVDs and listen to the CDs in the car.

Well that does it for now. Check back to see what other fun crafts and learning times we have through the month. I’ll also try to post some of my favorite easy recipes. Subscribe to my blog so you know when I post, I’m not too consistent with posting at this point. 🙂

0

mommyeats | Mommy meets healthy eating.

UPDATE: December 30th we FINALLY adopted out foster baby Tristan, who is now TWO YEARS OLD! Yay, best Christmas present ever!

11701225_1630148413889885_8830970171085154425_n

Teagan & Paisley

July 2nd we were blessed with our very own set of adorable twin baby girls Paisley and Teagan. So I have a little excuse as to why I’ve been so busy. 🙂

Holidays are over, winter feels like it has just begun, things are crazy here, and we are all missing Daddy as he works hard providing for our family.

To add to the craziness, or I would like to think we’re trying to become more structured, we have started “pre” pre-homeschooling. That’s a mouthful, but basically we are working on putting our long winter days to use learning music, life skills, numbers, colors, and most importantly the Bible! I’ve thrown together a very rough draft month by month log for keeping us on track with our learning. Still working on it, but I would LOVE to share it with you when it is done. My goal is to blog each month on our learning with pictures, links to DIY crafts and printable color pages and anything else we use through our month. So check back each month if you want to follow along. Hopefully you find this helpful as you tackle the job of raising your children. I plan to homeschool my kids, so I’m just getting an early start, and hopefully making each day a fun learning experience for the kids!12631319_10153934689221103_8404482168374529796_n

0

Buckwheat Cereal & German Pancakes

So what is Buckwheat?

IMG_5227

  • It is also often called Kasha – which is actually buckwheat that has been roasted. I never knew this before!
  • Buckwheat would be an excellent addition to your baby’s diet, as it contains iron, niacin, folate, vitamin K, and is high in fibre.
  • It is also gluten-free, so it is ideal if your baby suffers from Coeliac disease (gluten intolerance) or is allergic to wheat protein.
  • With the agreement of your baby’s medical adviser, buckwheat or kasha may be introduced to baby from 8 months of age.

Buckwheat Cereal

  • 1/4 cup ground buckwheat. I buy my buckwheat in it’s whole berry form. I use my magic bullet’s flat blade to grind the buckwheat.IMG_5228
  • 1 cup of water, maybe a little more.
  • Put ground buckwheat and water in a pot and bring to a boil.
  • Whisk continuously to avoid lumps.
  • Reduce heat to low and continue to whisk until cereal is thoroughly cooked. About 3 – 5 minutes.
  • IMG_5229Add maple syrup/honey and spices to taste. One trick I find is adding some homemade apple sauce to everything. Adds sweetener and cools the hot food down. Tristan LOVES apple sauce.

German Pancakes

This is my great great grandmother’s recipe. She used to make it for my mom when she was a little girl.This was a favorite in my house growing up. We got german pancakes on our birthdays and Christmas morning. 🙂

This is a really easy breakfast to make, it’s just a little time consuming if you make the full recipe. I typically make 1/4 of the recipe for myself and Tristan.

  • 12 eggs
  • 2 1/2 cups of milk, or more
  • 1 cup flour, or more. This is the fun part, you can be creative with the kind of flour you use. I’ve tried almond flour, coconut flour, brown rice flour and buckwheat flour.
  • Cinnamon or other spices, optional.
  • Maple Syrup, butter, peanut butter, cream cheese and jam to spread. Be creative. 🙂
So yummy!

So yummy!

  1. Put some butter on a non-stick frying pan. Turn on low-medium.
  2. Pour batter to cover bottom of frying pan. The trick is making them REALLY thin.
  3. Cook like pancakes, and flip once. Cook about 30 seconds per side.

IMG_5236

It’s an art learning how to make german pancakes. I’m sure you will mess up the first couple but it is so worth it!

1/4 the recipe, serves 3 people.

  • 3 eggs
  • 1/2 cup milk
  • 1/4 cup flour

Same instructions as above.

1

Easy No Kneading Artisan Bread

Sorry it’s been a while. Many happenings around here. Getting two more foster children tomorrow so we’ve been working on some home improvements. We’re really excited and can’t wait to meet the little ones!

I’m sure I’ll be trying out lots of new recipes now that I’ll have more mouths to feed. 🙂

Here’s the recipe I followed. You can check out that blog to get more details on the recipe. I’m just doing a quick version.

There is also this one that is basically the same thing.

This is the making bread for dummies bread that no one could ruin! It was SO easy! I’ve had many failed attempts at making bread. I love that you do not need to kneed this bread!

No Knead Artisan Bread aka Boule Bread

makes four 1 pound loaves.

Ingredients:

  • 3 cups lukewarm water
  • 1 1/2 tablespoons instant yeast (2 packets)
  • 1 1/2 tablespoon salt
  • 6 1/2 cups unsifted, unbleached all purpose white flour – you can be creative with the types of flour that you use.IMG_5039

Instructions:

  1. Warm the water slightly. It should feel just a little warmer than body temperature, about 100 degrees F.
  2. Add yeast and salt to the water.IMG_5040
  3. Mix in the flour. Mix with a wooden spoon – do not knead. You’re finished when everything is uniformly moist, without dry patches.IMG_5041
  4. Allow to rise. Cover with a lid (not airtight). I just make sure that the lid is not snapped on completely. Allow the mixture to rise at room temperature until it begins to collapse, about two hours. Longer rising times will not hurt your dough. Fully refrigerated wet dough is less sticky and is easier to work with than dough at room temperature. Refrigerate the dough overnight (or at least 3 hours) before shaping your first loaf. – I usually make my first loaf right away (after the first 2 hour rise time).IMG_5043
  5. Shape your loaf. Place a piece of baking parchment (I use reusable non stick backing mats) on a pizza peel or un-rimmed baking sheet. Sprinkle the surface of your dough in the container with flour. Pull up and cut off about a 1-pound piece of dough (about the size of a grapefruit), using scissors or a serrated knife. Gently stretch the surface of the dough around to the bottom on all four sides, rotating the ball as you go. Dust your hands with flour if you need to – to prevent sticking.
  6. Let the loaf rise for about 30 – 40 minutes uncovered. Doesn’t worry if it doesn’t rise much – it will in the oven.
  7. Preheat a baking stone on the middle rack in the oven for at least 20 minutes at 450 degrees F. If you do not have a baking stone, you can use a baking sheet, but you will not get the crisp crust on the bottom.
  8. Dust the loaf with a little flour and slash the top with a knife.IMG_5046
  9. Bake. Slide the bread (including the parchment paper) right onto the hot baking stone. Bake at 450 F for about 30 – 35 minutes, depending on the size of your loaf. Make sure the crust is deep golden brown.IMG_5049
  10. Cool for about an hour. We usually can’t wait that long. 🙂
  11. Store the remaining dough in the refrigerator in your lidded container and use for up to 14 days.
  12. Enjoy your homemade yummy bread!

I like to print out my recipes to make it easy when making something. I’ve conveniently made a google doc. Click here

0

Twine & Burlap Friday

Don’t these pears look yummy? These were the inspiration for my twine craft.

IMG_4988I decided to follow this bloggers post instead of create my own DIY post.

IMG_4991I love the idea of repurposing. This craft requires three things.

  • Lightbulb
  • Twine (Hemp)
  • Hot glue gun

IMG_4992This is the end product. It was quite easy. Wanna create your own? Follow this post.

The next thing I did was make a burlap wreath.

IMG_4994

Probably one of the most simple crafts I have ever made. So cute too! My favorite part of this wreath is it is so versatile. You can add embellishments to make it fit every holiday.

Follow this site to make the burlap wreath.

Before I could make my third fall craft today I ran out of hemp string. 😦 So I’ll leave that for another time. Please feel free to follow this blog post to make your own TWINE PUMPKIN. 🙂 Sounds nice huh?

Like always, please feel free to share pictures of the crafts you make, I would love to see!

0

Soft Boiled Eggs

I’ve been posting lots of breakfast/lunch recipes, eventually I’ll get some dinner ones uploaded! Hang in there. 🙂

My husband thinks these are the grossest things anyone could eat, but Tristan and I just love soft boiled eggs.

So what are soft boiled eggs?

Well to make hard boiled eggs you boil some water in a large sauce pan, add the desired amount of eggs and boil for 15 minutes. The egg white and yolk are fully cooked.

Soft Boiled Eggs

  • Bring a pot of water to boil.
  • Add desired amount of eggs.
  • Cook 5 minutes.

Once the eggs have cooked for 5 minutes drain the hot water and cover the eggs with cool water to let them cool.

IMG_4889

Take a table spoon and crack the soft boiled egg right in the middle. Split the egg in two and scoop out the softly cooked egg whites and yolk into a bowl.

IMG_4923

Chop the eggs in your bowl a little with a spoon, add salt and enjoy.

IMG_4890

0

Baby Bib Tutorial

Feeling crafty and this beautiful brisk fall morning. I’ve got the wood stove going, and a hot cup of tea brewing. The baby is down for a nap so I’m free to make some baby bibs!

These homemade cute, soft, absorbent baby bibs make excellent gifts. I believe these bibs are the only ones that really do the job! Tristan was never a spitter, but he drools like crazy!

Don’t you hate it when you search all over the internet for a good pattern, you finally find one and you have to pay for the tutorial and the pattern! Well today is your lucky day! I created my own pattern, and it is yours FREE! I found it to be a good size bib for most babies.

Baby Bib Pattern PDF Download. Print the pattern on card stock paper, cut it out and tape it together at the arrows.

You also need your fabric supplies. I used Soft N Fluffy fabric for my bibs backing. Really these bibs are reversible, I just prefer having a design on the front.

For the front I use various flannel 100% cotton fabric.

You will also need:

  • Good quality fabric scissors
  • Sewing machine
  • Pins
  • Side walk chalk (optional)

So you are ready to start. Fold your fabric just enough that your bib pattern fits, try not to waist your fabric. Lay your pattern on the fold of your fabric where it says “fold side”.

IMG_4892You can use side walk chalk to mark your pattern before cutting. I find that takes too much tome so I just leave my pattern on and cut as close to it as I can. Either way works, if you use chalk to outline you might end up with a perfect cutout.

IMG_4893

Cut fabric for front and back of your bib with the same pattern. Open your fabric and lay right sides together (the side that will show once you are all finished. Pin your two pieces together at a couple of different places.

IMG_4894

Then you are ready to sew your bib together. I usually start on the bottom left corner. Sew pretty close to the edge, about 1/4 ” inch. Keep in mind when your getting close to your starting point leave about 3″ unsewed, for now. You need this space to turn your bib right side out.

Once you turn the bib right side out, fold your fabric edges in at your 3″ opening. Top stitch over this part first and make your way around the whole bib. This makes your bib lay flat, gives it a more elegant look and also helps to hold the bib together longer.

IMG_4762Now your all finished. Pretty simple huh? All you need to do is add velcro or snaps to the top of your bib to keep it on your baby’s neck. Yes I did just switch my fabric color to pink dots. 🙂

IMG_4761

I prefer snaps because velcro is so rough on your baby’s delicate skin. I use the Babyville Snap Pliers for easy application. You will also need the snaps to use in the pliers.

If you are not the crafty type or you just don’t feel like doing all the work, feel free to check out my Etsy site. I sell some of my baby bibs on there.

Please feel free to ask questions or post pictures of a baby bib you made using this tutorial. Thanks!

0

TOMS: One for One

I always get antsy by the end of the week. I need something exciting to hold me over till the weekend. So enjoy this little product review.

IMG_4815

I have always had a heart for helping children in need. I love the idea of TOMS shoes. They are so incredibly cute, such an easy way to help a child/adult in need. In America we wear shoes for style, in other countries hardly anyone can afford shoes. Makes me feel a little guilty to be honest.

I’ve gone to Haiti on mission trips a handful of times. None of the children I see wear shoes. Their feet get tough from walking bare foot all of the time. For the most part, not having shoes in a warm climate is not much of a problem. I wonder though if walking around bare foot helps to spread disease. At the very least, you are more likely to get cut on a piece of barbed wire (used on most houses in Haiti) if you don’t wear shoes.

IMG_4814The one pair I got for Tristan is on sale right now. Ash Canvas Tiny TOMS. The ones pictured are Natural Burlap, They are the exact same thing as the Ash just different color. I got the Ash Canvas in the next size up (5T). They are true to size. Tristan wears a size 4T shoe, he is 9 months old. TOMS size 4T fits perfectly, a little room to grow I hope!

IMG_4821They open up very wide to fit a little chunky foot inside. Probably my favorite pair of shoes I’ve worn on Tristan so far. Normally it is a struggle to get shoes on such chubby wiggly feet. TOMS shoes slide right on. As you can see, the top basically comes off. They have a really convenient velcro closure. I believe TOMS are meant to be worn without socks, but I’ve done it both ways. Note: there are shoe string holes but those are just for looks. 🙂

Yes they are a little pricy, but you have to consider that you are really buying two pair of shoes, one goes to a child in need and one comes to your doorstep. Pretty good deal when you think of it that way!

IMG_4826

If you do decide to order a pair of TOMS for yourself or your little one, feel free to use my referral code. 🙂 You save $20 and I get $20 towards my next order!

0

Natural Cold Remedies for Children

I’m sitting here in my rocking chair watching my baby play with his toys. Tristan smiles as he shows me his toys so I can join in on his fun.  All the while he has snot running down from his nose, sneezing, coughing, and raspy breathing. It’s hard to concentrate on typing when you have a little cutie smiling at you every time you take your eyes off the computer screen. That’s a little back round on what I ‘deal’ with as I type.

Today I want to share a couple home remedies for a sick kid. Sometimes it’s hard to know what to do when your babies get sick. You can’t give them vitamin C & zinc or have them drink some Echinacea tea like you would do. However, if you are breastfeeding, eating a nutrient dense diet and taking some extra C and zinc would definitely help your little guy.

First, pray. To be honest, it is something I often forget about. I jump right into doing things on my own to alleviate my child’s discomfort. In fact, I had to take a second to pray just now.

Second. Start giving them lots of water! Another simple step that is often forgotten.

Psalms 139:14 “I will praise thee; for I am fearfully and wonderfully made: marvelous are thy works; and that my soul knoweth right well.”

One of my many passions is healthy eating and herbs. It never ceases to amaze me how God created our bodies to heal, naturally. Of course, because of sin’s curse we need to use traditional medicine once in a while. I like to do everything I can before going to the Dr.

The information you will read here is not to be taken over a Drs recommendations. Please consult your Dr. if your child is very sick.

Children’s Composition.

Children’s Composition is a formula made from three simple ingredients. It’s used to fight colds, flu, congestion, stomach problems, fevers and diarrhea.

How to make it:

  1. Put equal parts yarrow, elder flowers and peppermint in a mason jar.
  2. Cover the dried herbs with a 60% glycerin and 40% water mixture.
  3. Place the jar into a pot. Fill the pot about ½ way up the sides of the jar with water.
  4. Simmer the jars in the water for two to three hours.
  5. Strain the herbs out of the solution using cheese cloth. The resulting liquid should be put into a bottle with a tight fitting lid and stored in a cool, dark place. Make sure you label your glycerite so you don’t forget what it is.

A good dose is ½ teaspoon 2x a day, more if they want it. If needed you can give as often as every 15 minutes or until the illness begins to subside.

I use a dropper bottle to store my Children’s composition. Tristan loves it. He thinks it’s liquid candy. If you don’t have a dropper bottle on hand, store it in a glass jar. You can put it in the tip of a bottle nipple to give to a baby.

Be ready for buckets of snot! Remember earlier I said Tristan was sneezing? Every time this kid sneezes stuff goes flying out of his nose. Essentially this is how children’s composition works. It helps the body eliminate sickness. If you catch it in time, you could avoid the sickness all together.

The original ‘recipe’ can be found here.

Baltic Amber Teething Necklace.

Works like a charm.

Teething necklaces are not just good for teething babies. I just ordered one for myself (back pain & overall health).

“Amber is so effective due to it’s high content of succinic acid. Succinic Acid is a natural pain reliever and anti-inflammatory. Amber has many immune boosting properties: It promotes longevity,enhances memory, alleviates stress, is therapeutic for people suffering from arthritis, asthma, kidney stones, and thyroid problems.”

I’ve worn a Baltic amber necklace on Tristan since he was one month old. Maybe it’s all in my head, I honestly don’t know the science behind how these things work, but I believe they do.

“Baltic amber is not a gemstone or mineral, Baltic Amber is a fossilized resin, not a stone. Baltic amber instead is fossilized tree sap”

These necklaces look cute on boys and girls alike.

Be sure to wear your babies’ teething necklace on his/her skin. The warmth of the body releases the beneficial properties of the necklace. The necklace is not meant to be chewed on, typically they are short in length. If you want to keep the benefits of the necklace going while your baby is sleeping just wrap it around their leg and put a sock over it.

I have noticed every time I forget to put Tristan’s teething necklace on he seems a bit more grumpy. There’s a lot going on in his little body, anything I can do to help is worth it.

I got Tristan’s necklace on etsy.com This shop.

Chiropractor

This is not a home remedy, but it’s very high up on my list of important things. I became familiar with chiropractic when I was 16. I started working at a Chiropractor’s office where I was the Dr. assistant.

Our spine starts at the brain and goes down to your lower back. Nerves branch off from the spine that go to every organ in the body. You can see how if your back is out of whack your organs will be suffering too.

Chiropractic adjustments are great for ear infections, headaches, head colds etc.

We took Tristan to the Chiropractor when he was only a week old. I truly believe it is important. You can speak to your local Chiropractor more on the benefits of chiropractic care. This is a website my Chiropractor referred me to, she specialized is adjusting children.

We typically go to our Chiropractor once a month. Once in a while when we go one of us will be battling a cold. You can just feel the pressure leave your body when the Dr. adjusts your neck. It’s simply amazing.

Cod Liver Oil

I am a distributer of Nordic Naturals. To my knowledge they sell the most pure fish oils that you can find. The one I use for Tristan you can find here. Once he’s a year old I’m going to get the Children’s DHA liquid. If your interested in purchasing some Cod Liver oil aka DHA liquid for your little one I can get you all set with that.

Good fats support the immune system. Fatty acids like EPA and DHA reduce inflammation.

I hear it’s great for kids with ear infections.

Cod liver oil is a good fat which is important for proper brain health. Cod liver oil aids in digestion as well.

I started feeding Tristan cold liver oil right from the beginning. I found the easiest way was to put it in a bottle nipple and let him suck on it. You can also use a dropper for this. If you start early enough they wont mind the taste at all.

Elderberry Syrup

IMG_4509

This is a MUST to keep on hand at all times!

Autumn is the perfect time of year to make some elderberry syrup. Your whole house will smell of sugar and spice and everything nice! You really can’t go wrong with this recipe.

½ cup dried elder berries, or 1 cup fresh or frozen berries.

IMG_4490
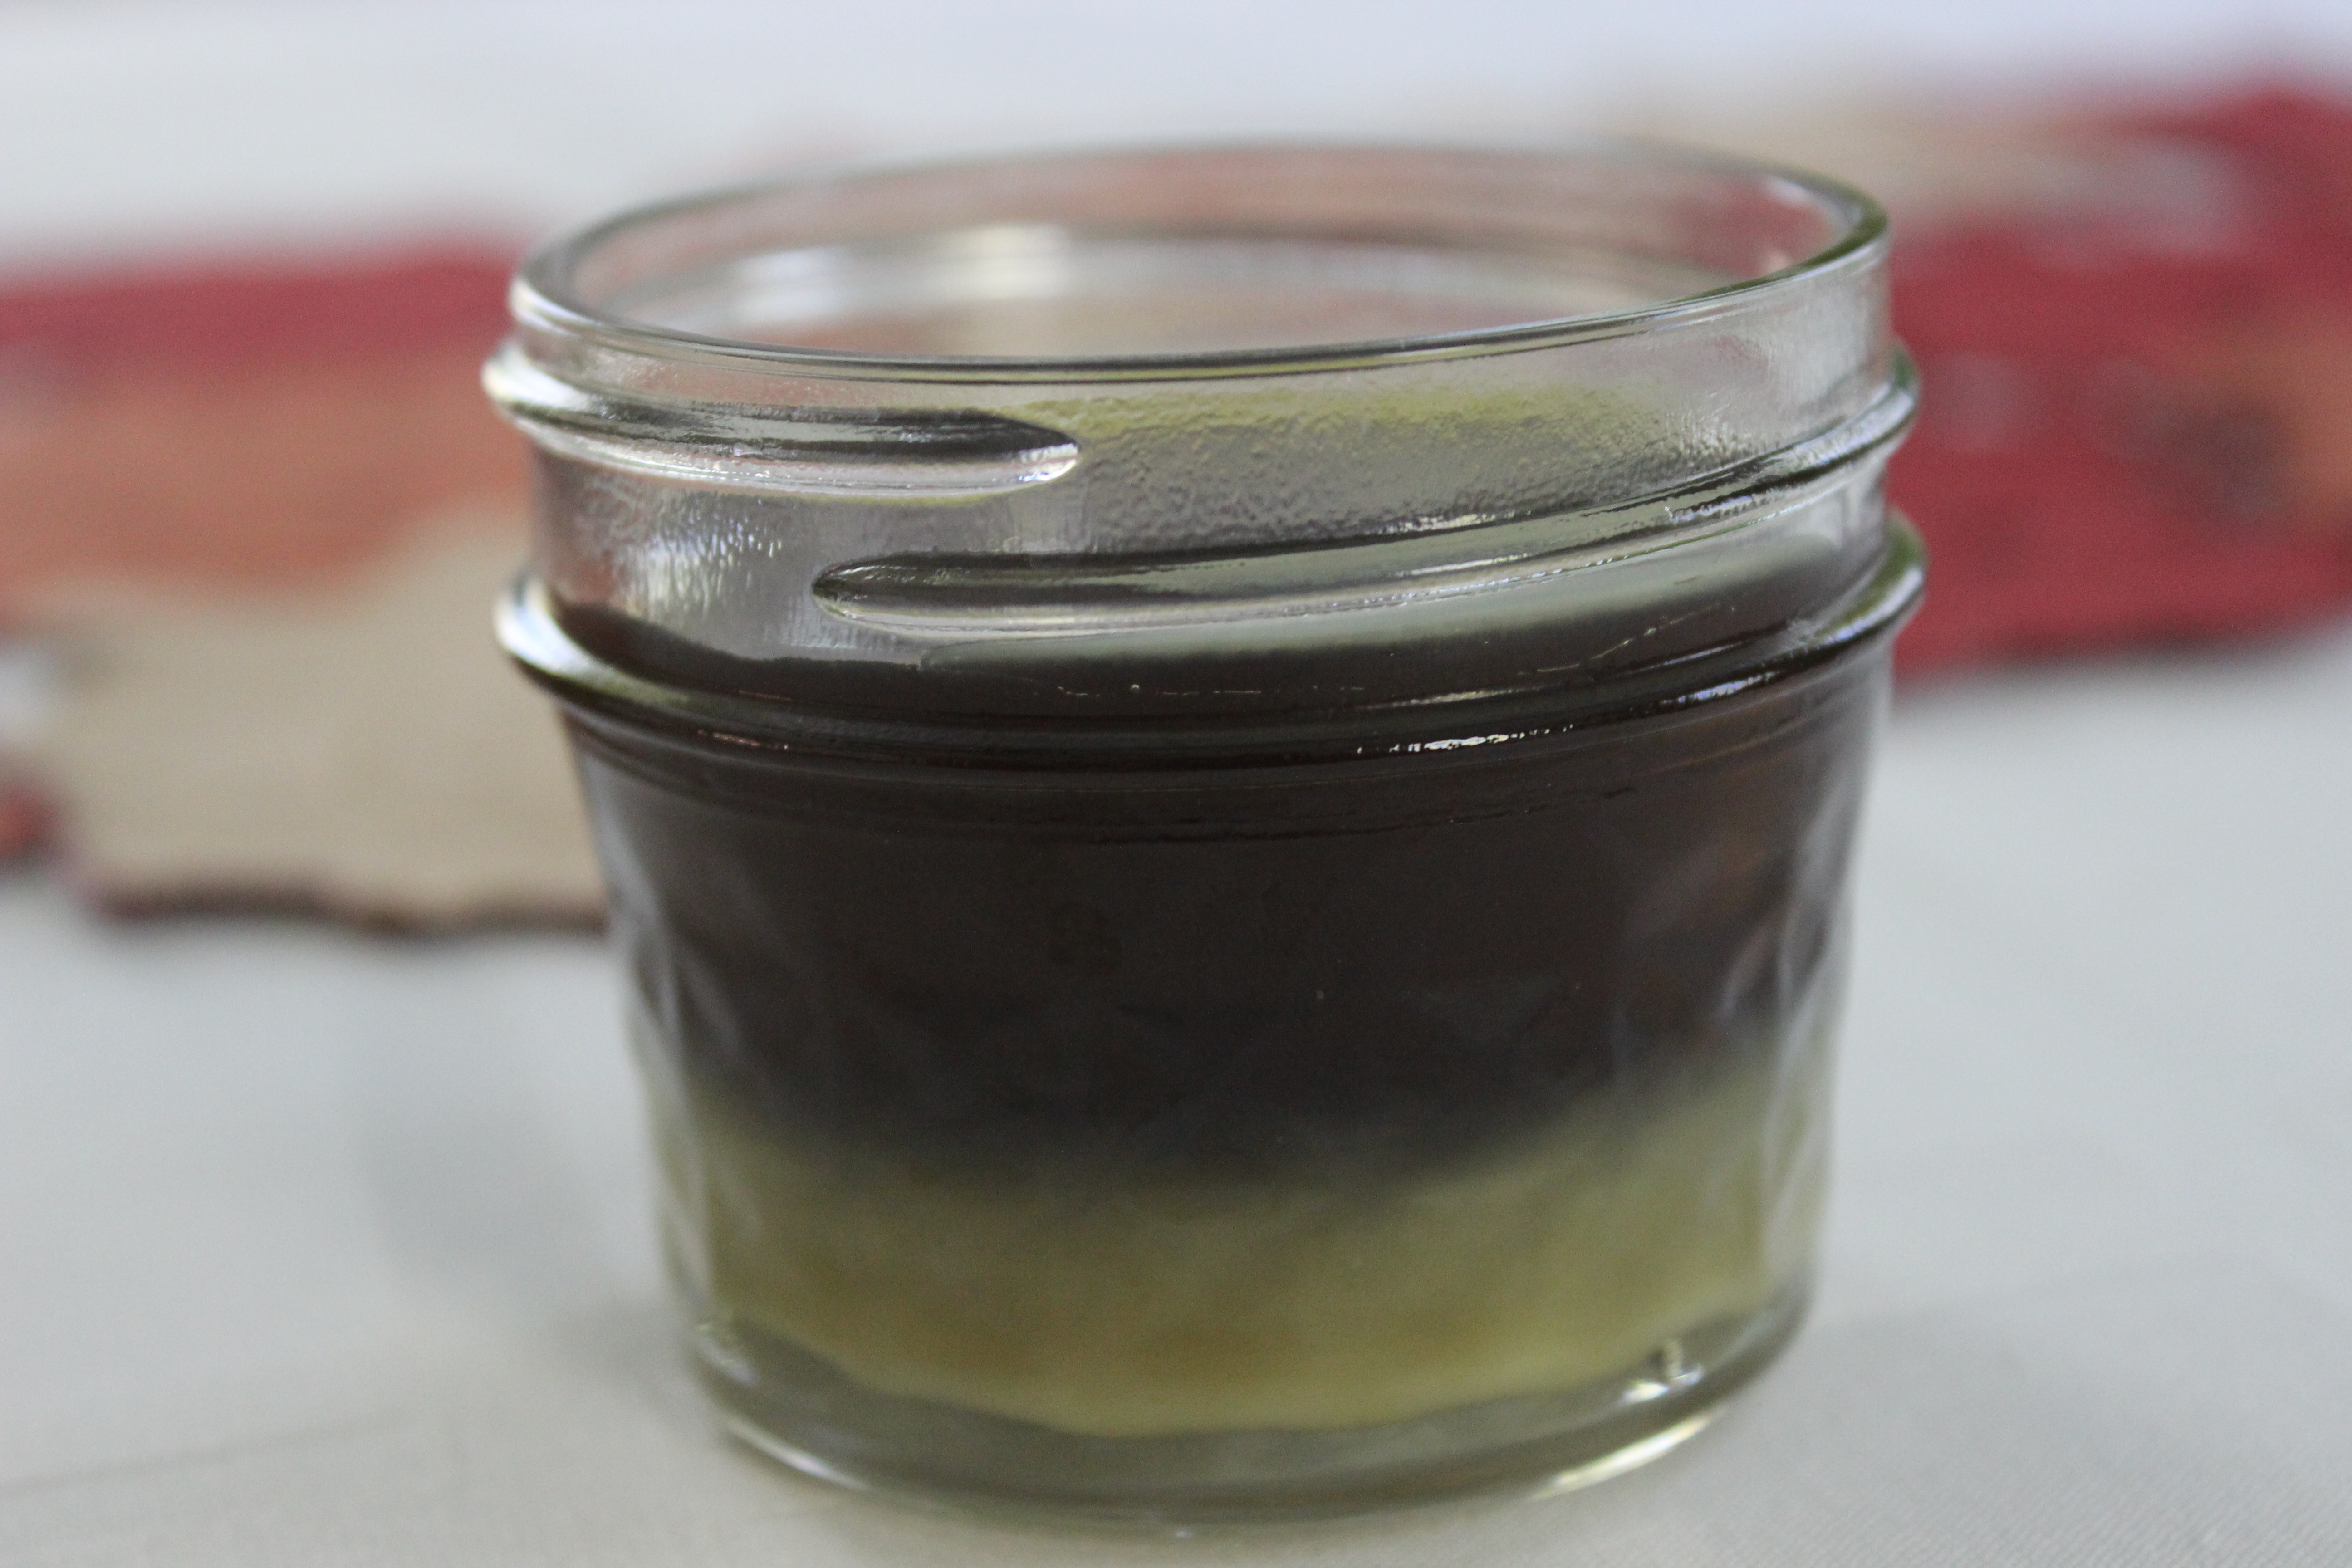
I’ve got an elderberry bush growing in my flower garden. I hope to harvest my own elder berries in the next year or so.

1 cinnamon stick, or 2 or 3.

IMG_44935 cloves, or maybe more.

1 Tablespoon ginger, freshly grated. If you don’t have any fresh ginger on hand ground ginger can be used instead. Use 1 teaspoon ground ginger.

2 cups water

1 cup honey, PLEASE NOTE it is not recommended to give honey to children under the age of one. I use beet sugar when I make it for Tristan. You could also try maple syrup or other natural sweeteners.

Add all ingredients but honey. Bring to a boil then let simmer, cover and let sit to reduce liquid to ½, about 20 minutes.

IMG_4497Strain. Add honey.

Store in fridge for a couple of weeks.

This is one home remedy your kids will be asking to take! This is one of the only natural remedies my husband will take when he is sick. Tastes great over pancakes with a little butter.

Probiotic

I get a powdered form of Raw LIVE probiotic from Garden Of Life. I am also a distributor of their supplements. I would HIGHLY recommend giving a probiotic to your children on a daily basis.

Probiotics can help with thrush in babies, yeast infections and overall support a better immune system!

Calendula Salve

IMG_4486We all know what happens when our warm summer days turns to brisk fall mornings. Weather changes bring the cold/ flu season along with chapped lips, dry skin and for some kids, eczema.

How to Make Calendula Salve:

IMG_4454¼ cup dried calendula petals

½ cup extra virgin olive oil

1/8 cup grated beeswax or beeswax pastilles

10 drops lavender essential oil, or your favorite essential oil.

You will also need:

Cheesecloth, this can be found just about anywhere, I got mine at Wal-Mart in the craft section.

Pot or Crock pot – you may want to invest in a cheep pot. I got one at the local thrift store; I use it for all of my herbal concoctions. Beeswax and oil is a pain to clean out of your nice pans.

Spoon – again you might want to use a cheep one

Measuring cups

Rubber band

  1. Put the olive oil and calendula petals in a small pot on low heat for approximately three hours. I added comfrey leaf to mine for added skin benefits.IMG_4475
  2. Lay cheesecloth over the top of a mason jar and secure with a rubber band. SLOWLY pour the olive oil through the cheesecloth so the petals are caught on top and the oil goes through the cheesecloth and into the mason jar.IMG_4471
  3. Pour the strained oil back into the saucepan and turn the heat on low. Add the beeswax and stir occasionally until melted. Add the essential oil and stir to distribute.IMG_4481
  4. Pour into a clean container, leaving uncovered until completely cooled.IMG_4483
  5. Cap and label. This salve should last for a year. I like to store my remedies in 4 oz. mason jars with those white plastic reusable lids. (mine turned green, I might have burnt it. oops, still learning)

The version I shared with you is the quick version. The long version is preferable to the quick version since it uses less heat which will keep more of the natural healing properties of the calendula flower in tact.

The long version:

IMG_4468Place dried calendula petals in a clean jar and pour the olive oil over petals. Close lid tightly and shake to blend. Allow to sit for one to two week until the oil turns a golden color.

Strain and follow the same directions as the quick version above.

Great for dry skin, eczema, rashes, chapped lips, cuts and scrapes, and minor burns.

Here is the recipe I used as my guide.

There are so many variations, and endless possibilities with making your own salves.

Another salve I use all of the time is Eden Salve.

Essential oils

You have already heard a bit about essential oils reading my post thus far. I use essential oils in just about everything. You can also use them raw such as peppermint oil on your temples for headaches or lavender on the bottom of your babies’ feet to help him sleep.

I get my essential oils from Doterra. I have a wholesale account with them. For more information please feel free to leave a comment, I’d be glad to answer any questions.

I won’t get into essential oils much right now. Some day I will make a whole post on the uses and benefits of essential oils. Just make sure you do your research, some essential oils can be harmful, especially to babies and pregnant women.

Vapor Rub

IMG_4460¼ cup beeswax

½ cup coconut oil

25 drops eucalyptus

IMG_446310 drops tea tree

5 drops peppermint

Simply melt the oil and beeswax in a pan and then add the essential oils.

IMG_4467Pour into metal tin(s) or a glass 4 oz mason jar. And that’s it!

The salve will harden within 10-15 minutes. If you find it is too soft, like the consistency of an ointment, you can scoop it back into the pan, remelt it and add more beeswax. If it is too hard, remelt and add more oil. You could add more essential oil at this time as well.

Earaches

My husband, Ben used to be plagued by earaches when he was a child. I have not had to deal with earaches with Tristan yet, hopefully it stays that way. I do know that ear aches are a big concern for many moms out there. Hope this woman’s advice can help one of you out!

Conclusion

I made the calendula salve, and chest rub this morning, while writing a blog, taking care of a sick snotty baby with a little puppy nipping at my heals. I also managed to get a shower and stay in my pjs all day. I know many of you have way busier lives than mine. My point is these things are easy to make, and the benefits are amazing. It feels good to be a mommy Dr. for my family.

I would say the hardest part to making your own herbal concoctions is finding the right ingredients.

So where do I find all my herbs and other ingredients. Some herbs I actually grow in my herb garden. Most of them I buy here at mountain rose herbs or my favorite place is Bulk Herb Store. You can find lots of helpful information on both of these websites. I originally learned how to make salves and home remedies from Shoshana at Bulk Herb Store.

I have to say, this was fun! It’s nice having all of my most used herbal remedies in one neat blog post. Even if no one else reads my post, I’ll certainly be back to follow my own recipes.

0

Yummy Fall Breakfast

Homemade Oatmeal Cereal

Ingredients

1/2 cup old fashioned oats (aka 5 minute oats)

IMG_4765

I roll my own oats from Oat groat. I buy my oat grout in bulk out in Lancaster, PA. I borrow my mom’s oat grinder to make my oats.

Don’t have old fashioned oats? You can use any kind of oats, it just might take longer to cook depending on the kind of oats you use.

  1. Place oats in magic bullet (i used the coffee grinder blade), pulse for 15 to 30 seconds or until finely ground.IMG_4766
  2. Store the oat powder in a sealed container in the refrigerator or freezer or in a cool dark place for up to 3 months.

Making the cereal

  1. Bring 1/2 cup of water to a boil and sprinkle in 2 tablespoons of the ground oats (I had to double the recipe, Tristan is a big eater).
  2. Whisk continuously for 30 seconds and then occasionally for 3-5 minutes or until the mixture is thick and creamy.
  3. Add cinnamon, butter, salt and maple syrup to taste. 🙂 Seriously this stuff is good, Tristan never leaves any for me to finish though!

One concern with making your own baby oatmeal is that it doesn’t contain iron. You can add pureed dates for added sweetener, but also dates are high in vitamin A and Iron.

The hardest part about this baby oatmeal cereal is it takes FOREVER to cool down. Just be careful not to burn your babies mouth. Test it on your lips before giving to baby.

IMG_4768

Tristan enjoys his breakfast using his boon spoon. I love the double sided spoon, rubber tipped on one side, metal on the other. The rubber side is flat which makes getting every last bite so much easier.

Whole Grain Quinoa Baby Cereal

1 cup whole quinoa (not ground into a powder) – again, I buy this bulk in Lancaster, PA

2 cups water

  1. In a large pot, bring 2 cups of water to a boil.
  2. Add 1 cup of quinoa
  3. Cover the pot, reduce heat and simmer approximately 15 minute or until liquid has been absorbed. Let stand for five minutes and then “fluff” a bit.
  4. You may add spices such as cinnamon, ginger and vanilla, and also fruits, veggies and/or other foods that are age appropriate for your baby.

If your baby likes his food smooth, just throw the cooked quinoa in a blender and puree.

Don’t stop there. Make quinoa for the whole family to enjoy! We add a little Bragg’s liquid aminos, butter and sesame seeds.